참고사이트 :
1. Openstack Document
http://docs.openstack.org/image-guide/content/windows-image.html
2. 위 문서대로 진행한 한국블로그
http://heavenkong.blogspot.kr/2014/04/create-windows7-virtual-machine-image.html
2. cloudbase init & windows7 & openstack
http://cloud-ninja.org/2014/05/14/running-windows-7-guests-on-openstack-icehouse/
3. cloud-init for Windows instances (www.cloudbase.it)
http://www.cloudbase.it/cloud-init-for-windows-instances/
[출처] http://heavenkong.blogspot.kr/2014/04/create-windows7-virtual-machine-image.html
Create Windows7 Virtual Machine Image for OpenStack
http://docs.openstack.org/image-guide/content/
- virt-manager
- VirtIO driver
- Sysprep
- Cloudbase.init
Requirements:
windows7 iso file:
http://www.w7forums.com/threads/official-windows-7-sp1-iso-image-downloads.12325/
select version by language ~
virtIO iso file:
http://alt.fedoraproject.org/pub/alt/virtio-win/latest/images/bin/
select iso file to download ~
cloudbase.init fle:
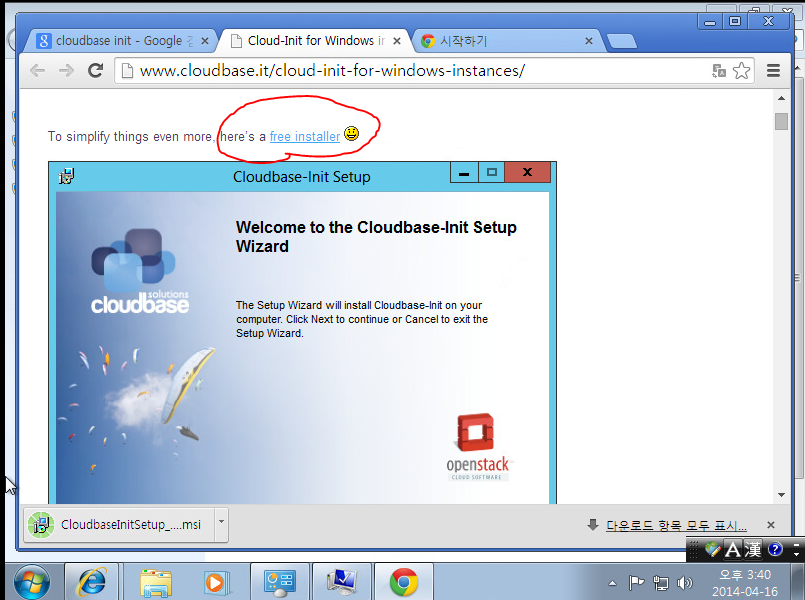
http://www.cloudbase.it/cloud-init-for-windows-instances/
Here select https://www.cloudbase.it/downloads/CloudbaseInitSetup_Beta.msi file to download ~
1. Using virt-manager
yum install libvirt
yum install qemu-kvm
yum install virt-manager
service libvirtd start
virt-manager
New VM -> Name: vm_windows& -> Choose "Local install media(ISO image or CDROM)"

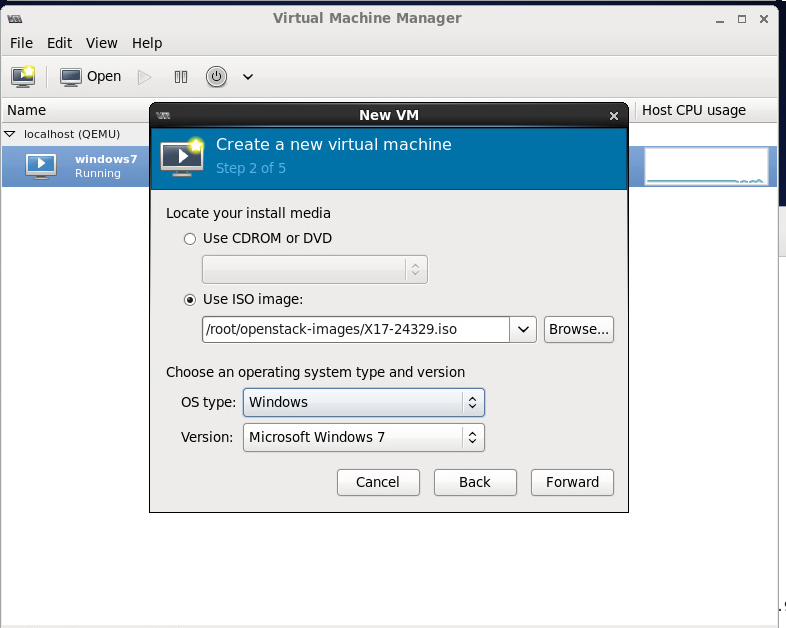
CPUs 2

Select managed or other existing storage ( This is for adding virtual CD of installing VirtIO Driver)
New volume Name: vm_windows7.img
Format: qcow2
Max Capacity: 20000MB(20GB)
Allocation: 20000MB(20GB)

Forward
click customize configuration before install (This is for adding new hardware)
Finish
Add Hardware

select managed or other existing storage
Browse: /root/openstack-images/virtio-win-0.1-74.iso
Device type: IDE cdrom
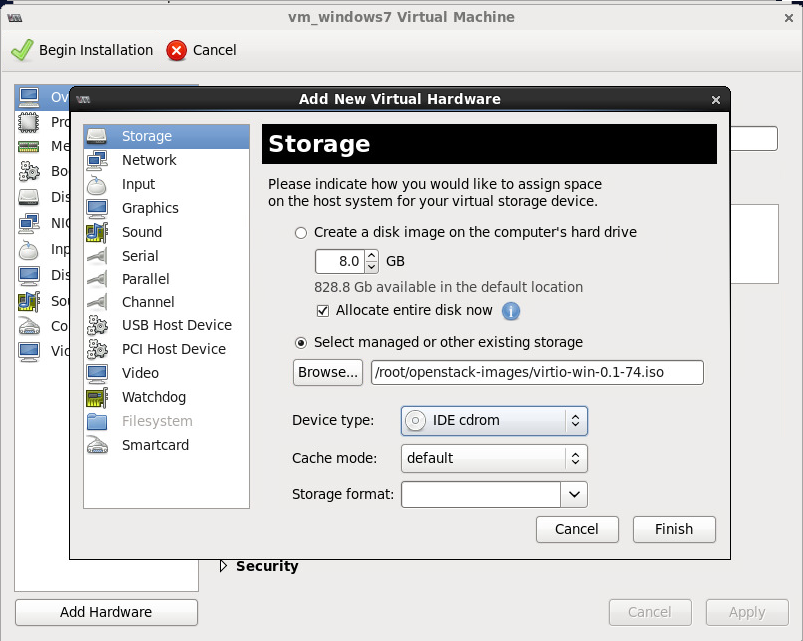
Click Begin Installation

Click Next ~
2. Load driver as shown below ~


User: kisti
PW: ****
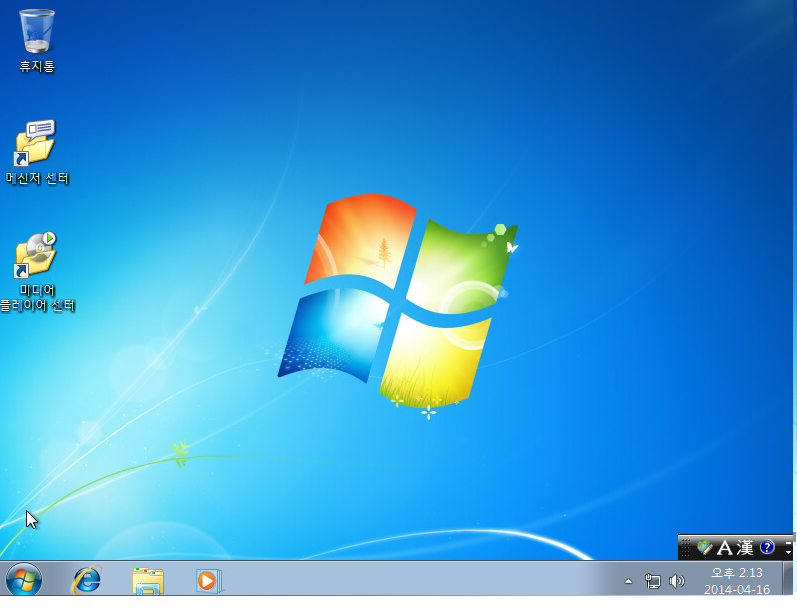
It will be shown as follow~
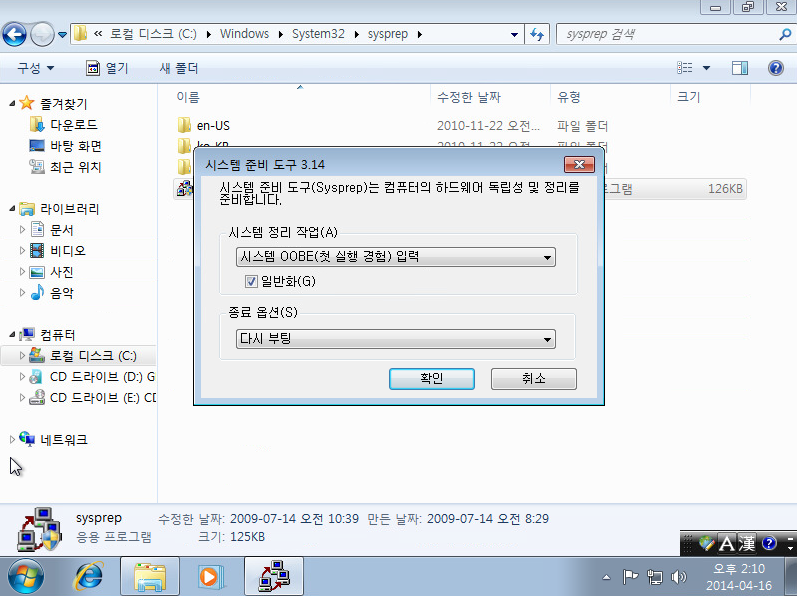
3. sysprep Run
In windows7, there is a tool called sysprep for use as a virtual machine image.
C:\Windows\System32\sysprep
execute sysprep.exe file
Click General (일반화)
OK(it needs to restart the windows7)

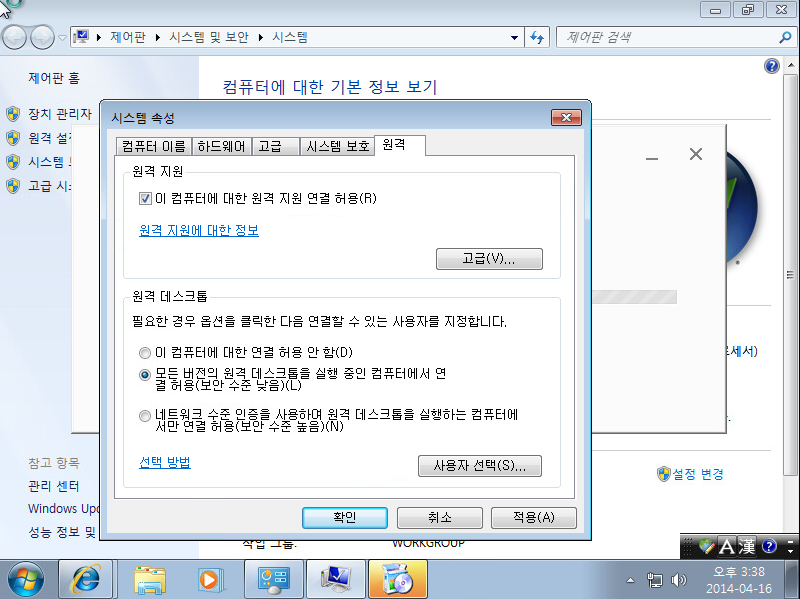
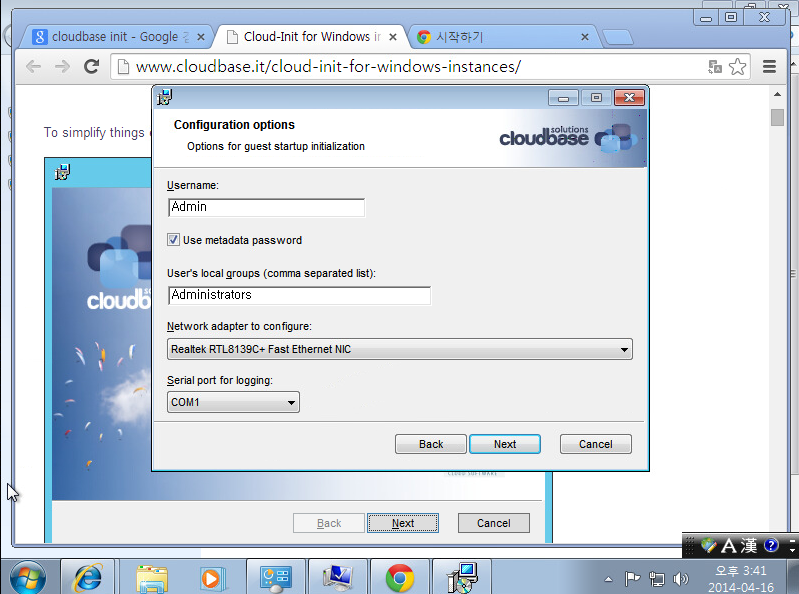
Install cloudbase.init
5. Other settings
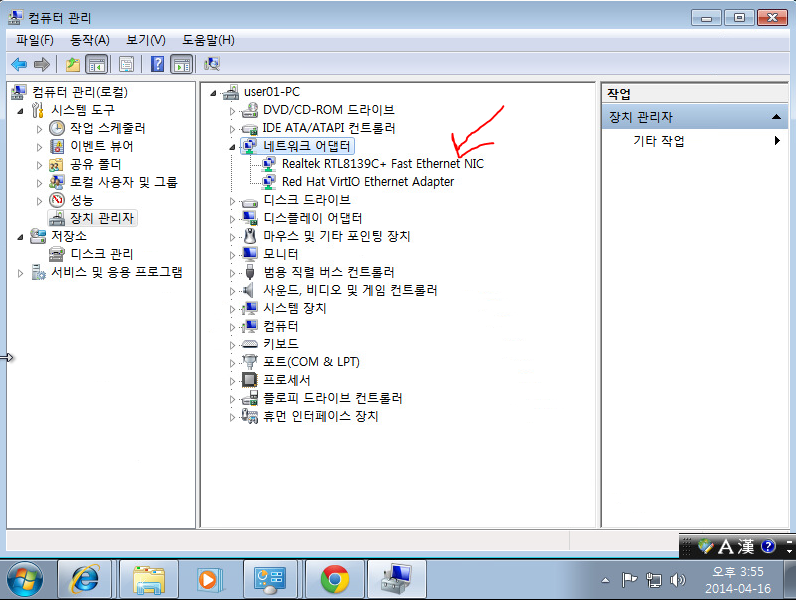
Ethernet 컨트롤러 driver install
computer right click -> 관리-> 장치 관리자

load VirtIO driver and update ~ After updated as shown bellow~
6. Get image file
In the default directory /var/lib/libvirt/images, will find vm_windows7.img file ~
Run this command, virsh undefine vm_windows7
then you can use this image file to create virtual machine with windows7 in openstack ~
하다 보면 생성된 이미지가 블루 스크린(blue screen)이 뜨면서 설치 오류가 나는걸 볼수 있는데 해결 방법은 guest windows7에 microsoft .Net framework를 설치하면 된다.
따로 설치할 필요없이 윈도우 오피스를 깔면 포함되어 설치가 된다.
[출처]http://heavenkong.blogspot.kr/2014/04/create-windows7-virtual-machine-image.html
<www.cloudbase.it 서비스들>
- OpenStack Compute Installer
- Cloud-Init for WIndows instances
- Neutron Hyper-V plugins
- OpenStack Cinder-Volume on Windows Storage Server 2012
- OpenStack Windows Server 2012 R2 Evaluation
- OVS on Hyper-V
등등 많음
'Virtualization + Cloud > OpenStack' 카테고리의 다른 글
| [OpenStack] IceHouse 설치 2 (with Neutron, multi node) - 2014.12 (0) | 2015.05.08 |
|---|---|
| [OpenStack] IceHouse 설치 1 (with Neutron, multi node) - 2014.12 (0) | 2015.05.08 |
| [OpenStack] OpenStack 소스레벨 (0) | 2015.04.23 |
| [OpenStack] 인스턴스 테스트 (0) | 2015.04.22 |
| [OpenStack] 정기세미나 참석 (2015.01) (0) | 2015.04.21 |